Painting a portrait of one of my favourite animals, the wolf! In this tutorial I will show you the step-by-step process and my thought process of how to paint a realistic digital portrait of a wolf using Adobe Photoshop.
Read MoreBrighton Fine Artist - Pencil & Ink Drawing Commissions
Hello everyone,
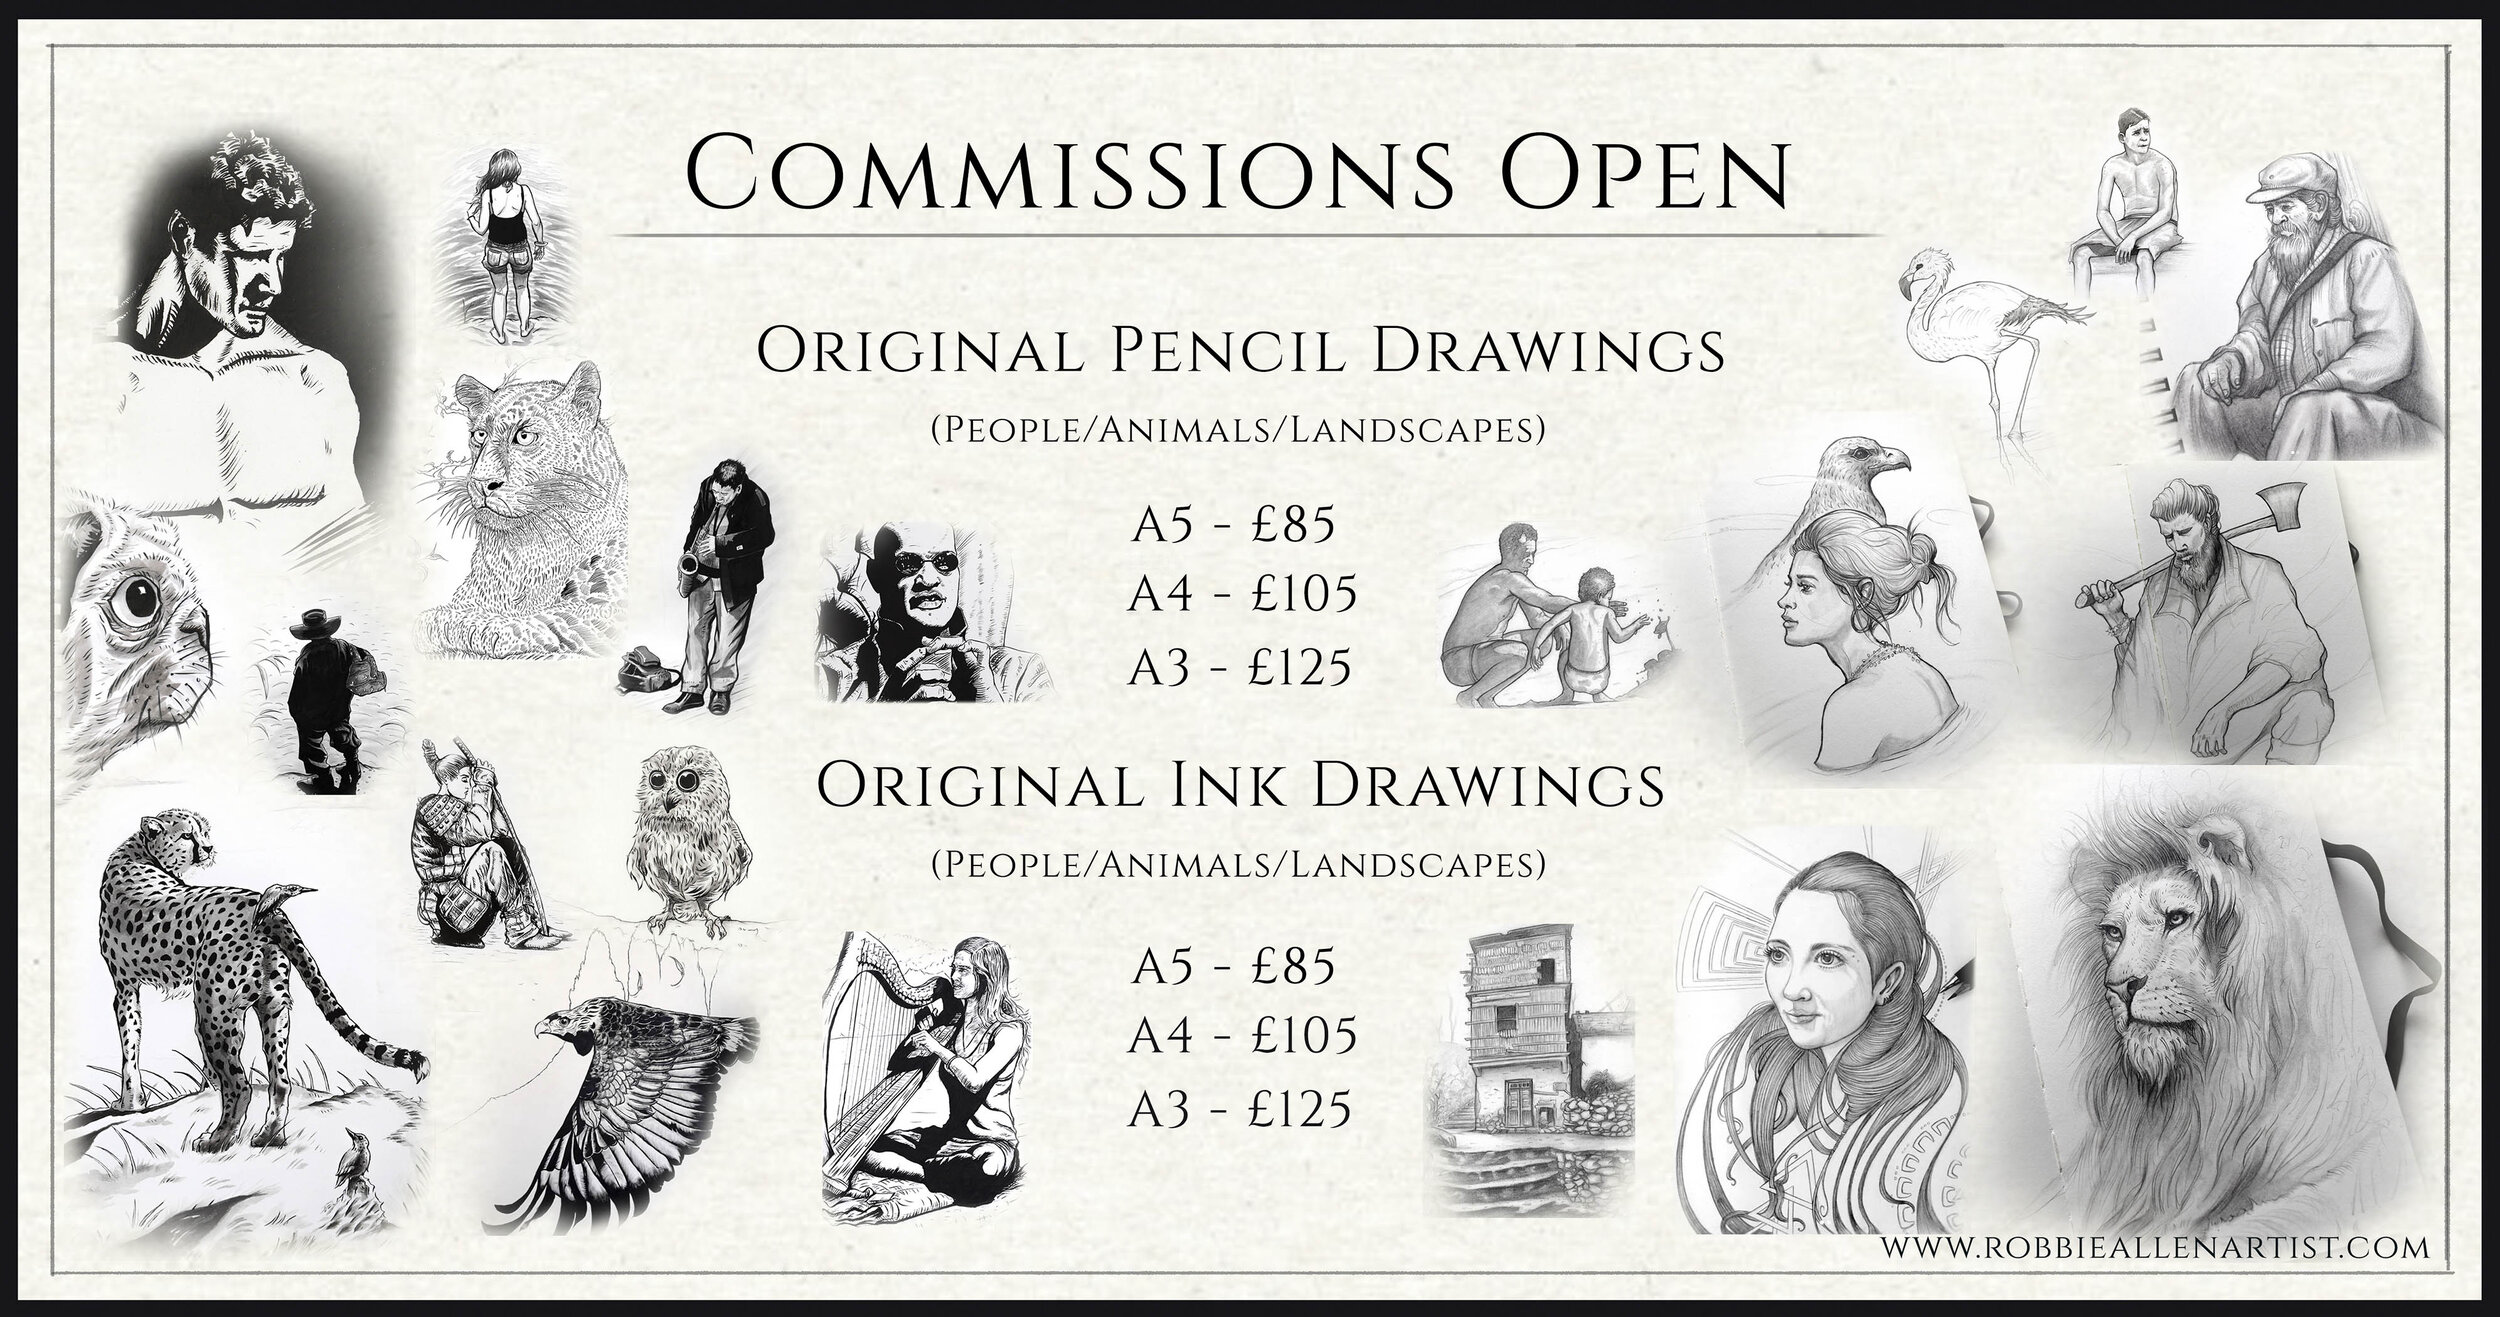
I am now open for pencil and ink drawing commissions!
I can draw original pencil and ink drawings in A5, A4 and A3 size. And if you live in Central Brighton, I can personally deliver the drawing to your door!
These make for a great gift for yourself, a friend or loved one.
Below are some of my drawings up close:
In Deep Thought - A drawing of a man I saw in Arequipa, Peru
‘A Moment of Rest’
‘A Sombre Moment’
‘Air of Silence’ My drawing of a building in South West China, in the Yunnan Province.
‘Cheetah & The Kingfisher’ - One of my ink drawings for Inktober
‘Father & Son’ - My drawing of a father and son playing together at a beach in Recife, Brazil.
‘The Pride’ My drawing of a pride of lions during the astrological sign of Leo 2020.
‘Jaguar’ My ink drawing of a Jaguar that I finished in Argentina.
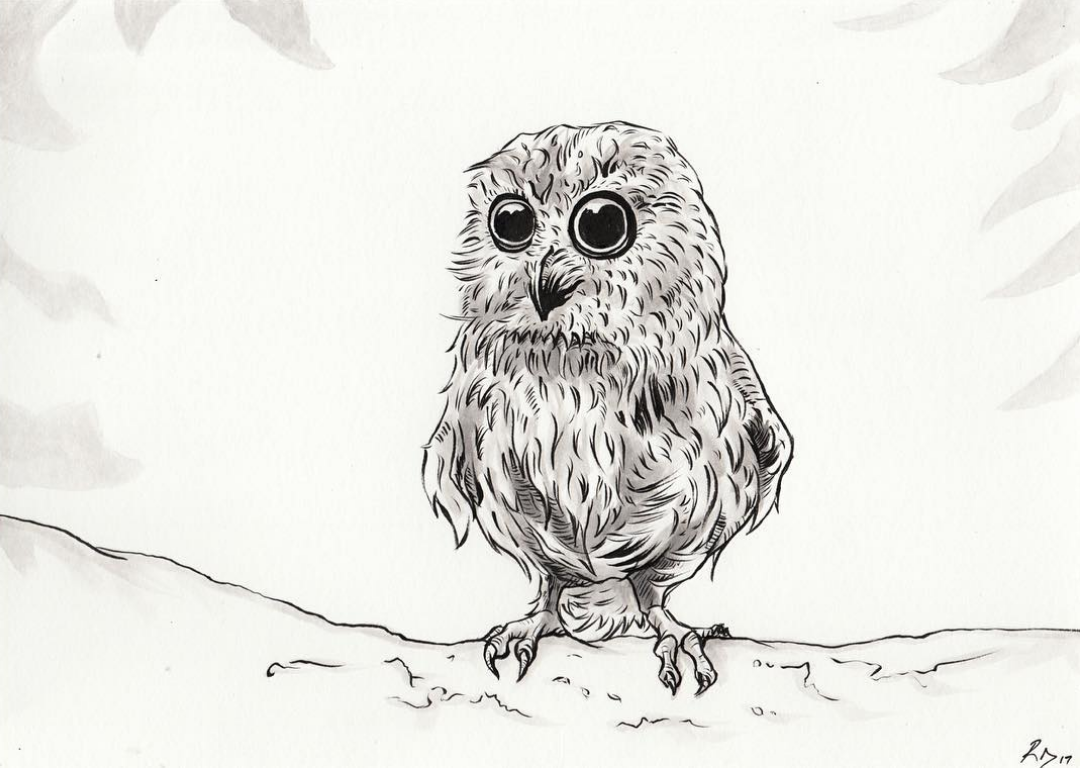
‘Mysterious’ My ink drawing of an owl.
‘Screech’ My ink drawing of a hawk.
‘Aguila De La Torres Del Paine’ - My mural painting of an Aguila/Eagle in a hostel in Patagonia, Chile.
‘Tote’ My drawing of my Chilean friend Tote who I met in Brazil.
‘Flamenco’ My drawing of a Flamingo that I saw in San Pedro De Atacama Desert in Chile.
‘Village Menino’ - My drawing of a local boy I saw sat at a pier in a town near Rio in Brazil.
‘Chilean Gentleman’ - My drawing of a Chilean man I saw waiting at the border between Argentina and Chile, high up in the mountains.
‘The Sax Player’ - An ink drawing of a busker i saw in Buenos Aires, Argentina.
‘Falls of Chapada’ - My ink drawing of Ellen who I met in Chapada Diamantina, Brazil.
‘Shy Pug’ - My ink drawing of a pug.
‘Sword’ - My ink drawing illustration of my own warrior character.
‘The Confrontation’ - Another one of my ink drawings of my warrior character.
‘The Harpist’ My ink drawing of Linnea, a German harpist who I met in Queenstown, New Zealand.
‘Watching Them Paint’ - My Drawing of a man I saw watching graffiti artists paint on the streets of Rio De Janeiro
‘Awaken’ - My drawing of a woman in July 2020.
‘Fly Above’ A recent pencil drawing.
‘Lion’ A recent pencil drawing of mine during the astrological sign of Leo.
Please feel free to share this post with a friend.
Thank you,
Robbie
Digital Portrait Painting Process of Séilah - Brighton, U.K
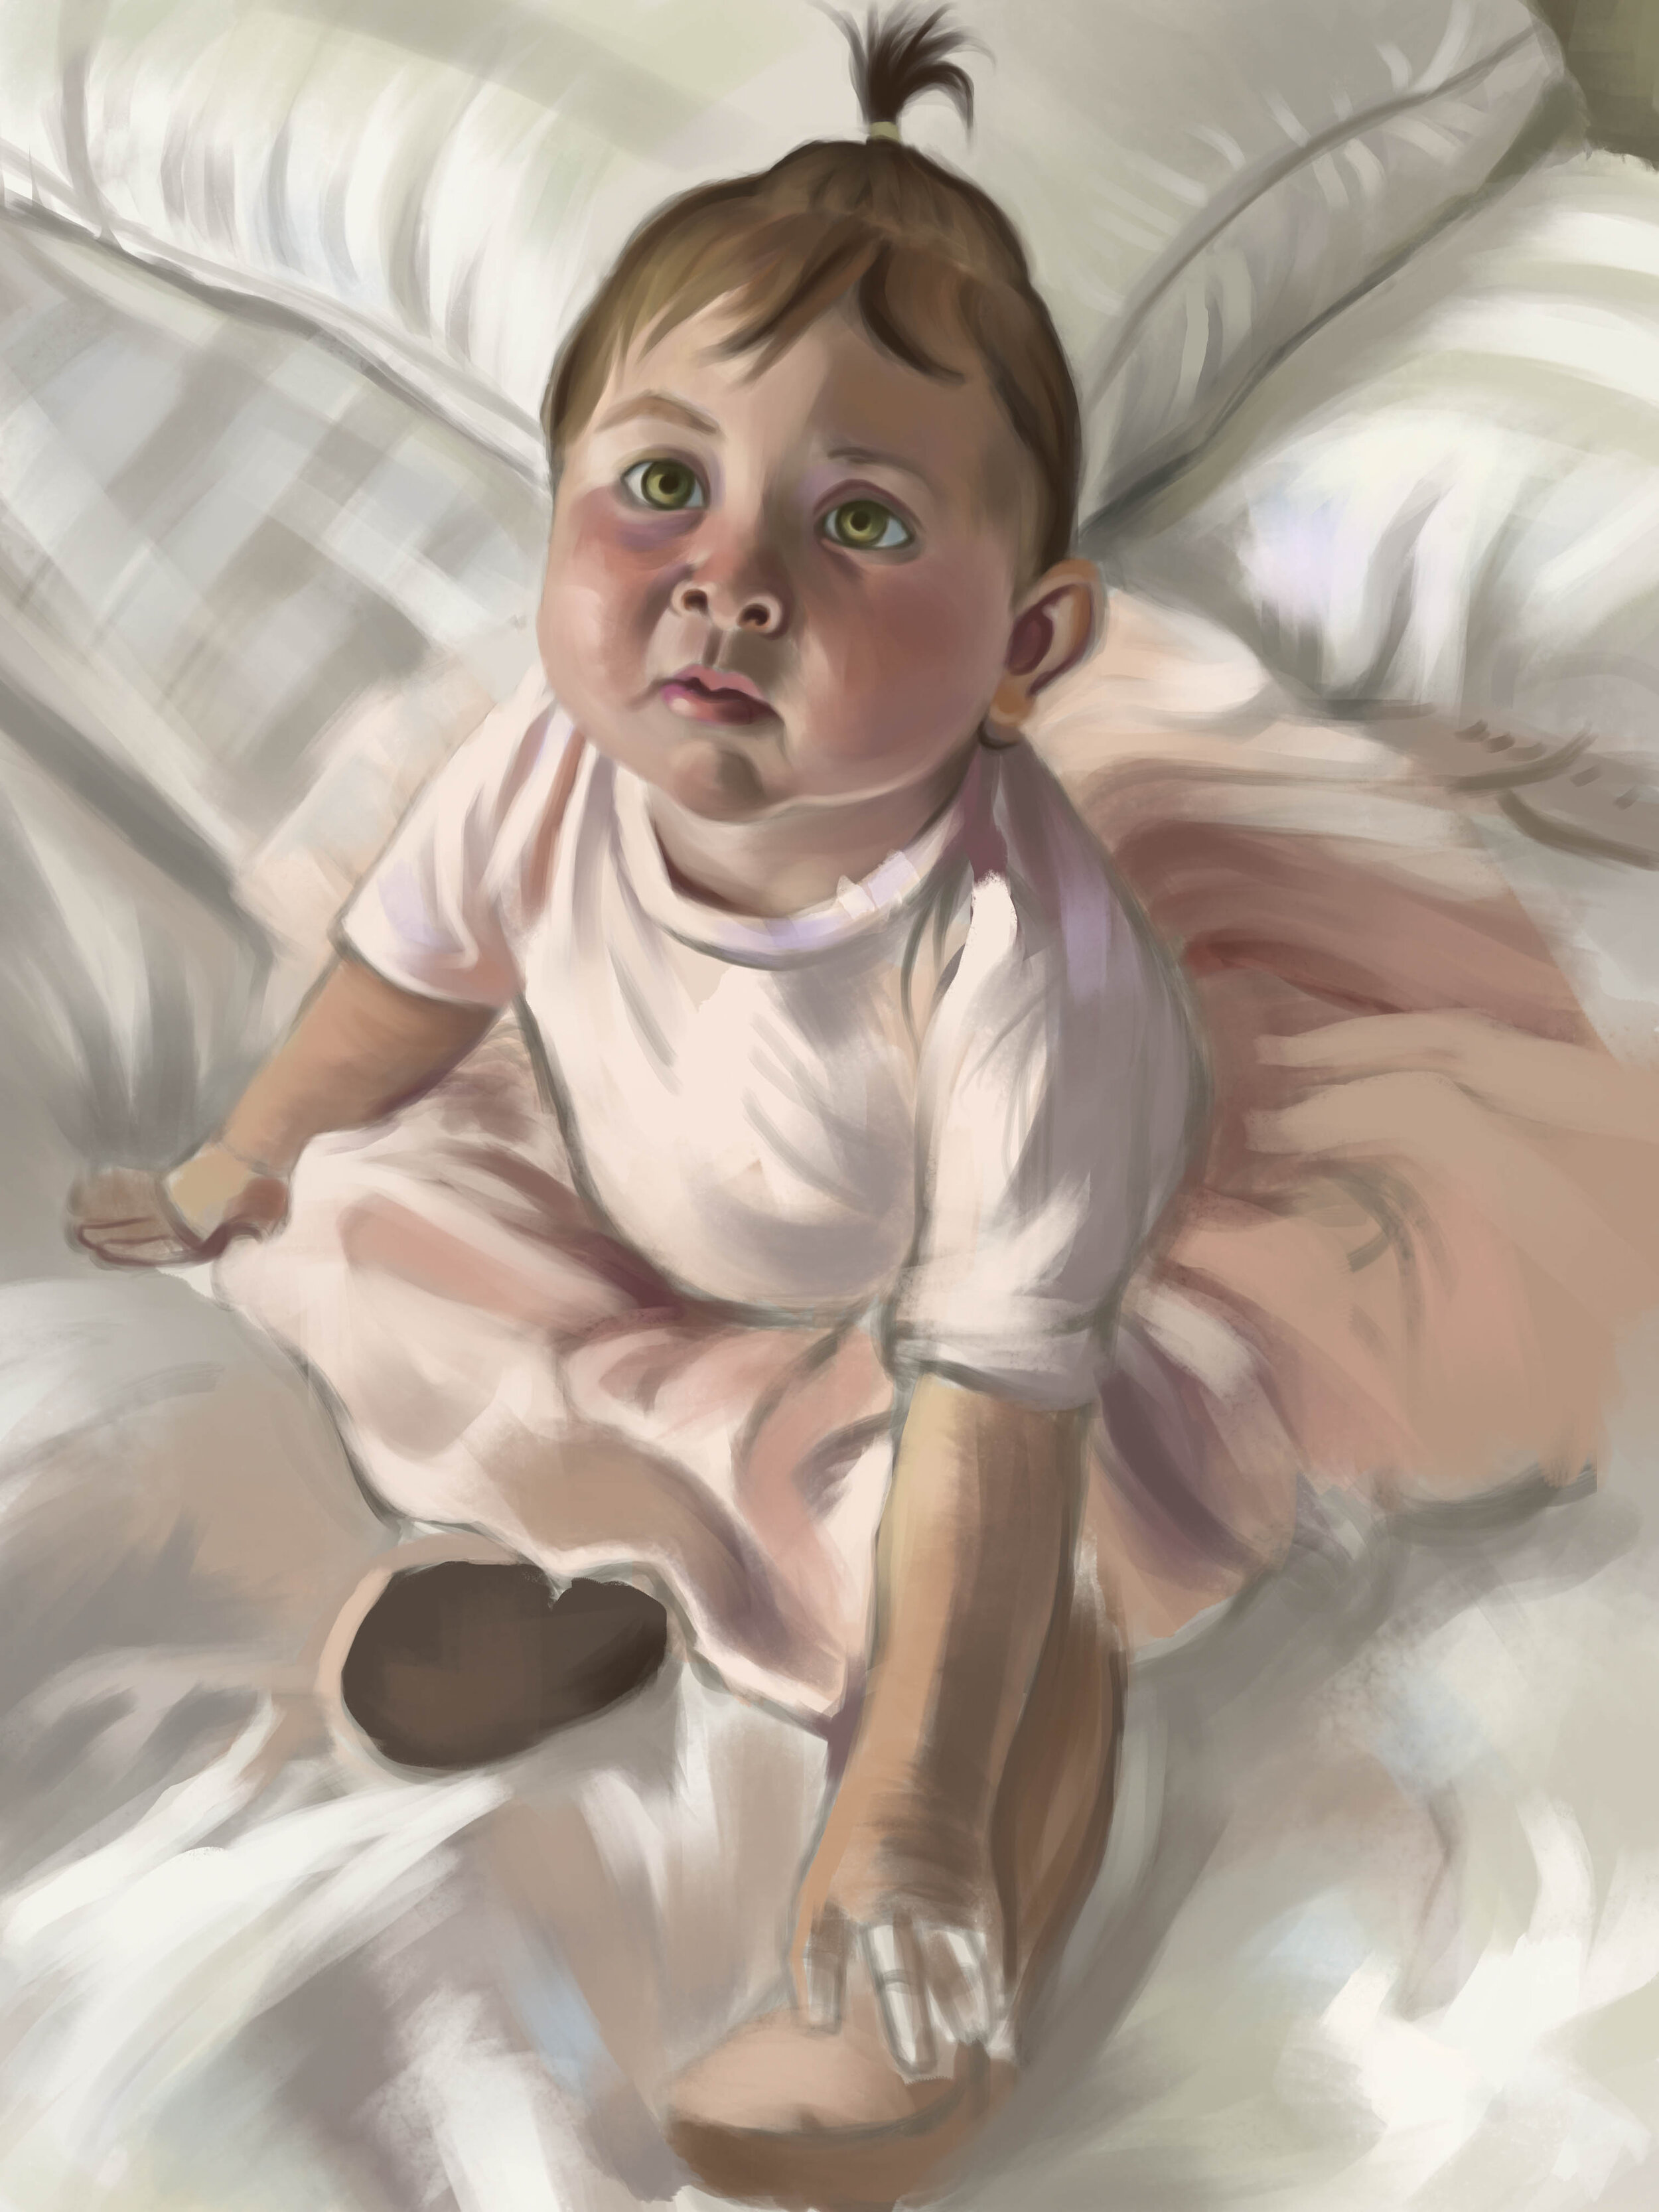
This is my finished portrait painting commission of Séilah.
Introduction
Hello everyone,
Firstly I would just like to say that I am both a traditional fine artist, and a digital artist. I paint in both mediums. But for this particular painting, the entire process was completed digitally. For more of my traditional work, head over to my painting pages on my website:
For my watercolour & gouache paintings; https://www.robbieallenartist.com/watercolour-gouache
For my oil paintings; https://www.robbieallenartist.com/oil-paintings
Some of which are available for sale on my website shop; https://www.robbieallenartist.com/plein-air-paintings
The painting process video link is provided at the bottom of this post, scroll down if you would prefer to watch that first.
Deciding Artistic Direction
In 2019 I was asked to paint my sister’s friend’s daughter as a gift for a family members Birthday present. Skye, who commissioned me for the portrait, chose for me to have the portrait painted digitally instead of traditionally.
I organised to meet up with Skye and her daughter Séilah, so that I could get a sense of her personality and character, and to take reference photos for the portrait. In the end we chose to use an already existing professional photo of Séilah, (the photographers name I’m not aware of), to use to paint my portrait of her. Meeting Séilah in person helped me to make decisions regarding what I wanted to do, and where I wanted to go with the portrait.
I chose to try and emphasise her natural curiosity for all things, her colourful and vibrant personality, and her innocence. She wasn’t even 1 year old at the time of me meeting her.
Step 1 - The initial sketch.
My Step-by-step Process For A Digital Portrait Painting
I started off by simply sketching Séilah and the surrounding material on a digital canvas using Adobe Photoshop with a hard round brush. I checked back on a number of occasions to check the proportions, and positioning of the drawing was accurate and true to the original photo reference. Once I had established the initial sketch, I then went on to painting the block-in, with big, broad, brush strokes, filling in areas of local colour and the mid-tones of the skin.
Step 2 - The colour block in.
Moving Around The Canvas
Throughout the process I would move around the digital canvas, developing different areas of the painting, raising them up all together, gradually in more and more detail as I progressed. You can see this in action by watching my video below. This is generally considered to be a solid practice by many professional artists who I have studied from. Personally I find that it helps to keep the painting harmonious, I can paint more instances of ‘lost & found’, and I can mix in foreground and background colours in a way on the canvas that helps to create a better sense of realism. This exercise also serves to keep your mind and eye fresher for longer as your attention isn’t focused on just one area for any given length of time.
Useful Digital Techniques
I paint with a MacBook Pro and I hit the keys (command -, and command +) constantly to go closer and further away from the digital canvas. This digital technique ultimately emulates the real life process of constantly standing backwards and forwards from the physical canvas in order to see the bigger picture of the painting, keeping in control of the piece and being able to detect mistakes and better place new brush strokes with confidence. All of which leads to a more fluid painting process and less accident or error prone one.
This process I also find to be fun, creating a sense of enjoyment. If you get stuck on one area, why not move to another momentarily and come back to where you were before? You might just find that you can suddenly solve the problem with fresh eyes within a matter of minutes of not looking at it.
I also get into the habit of rotating the canvas using the ‘rotate’ tool on Adobe Photoshop, which I have set up as a hotkey under ‘r’. This again emulates the traditional art process of rotating the paper or pad on a surface on order to make cleaner and more accurate lines and brush strokes. This isn’t really possible when standing at an easel, however, making this an exclusive benefit of digital painting over traditional.
Below are more of the digital painting steps as the painting gradually progresses.
Step 3 - Painting in more of the details.
Step 4 - Further refinement.
Step 5.
Step 6.
Step 7.
Step 8.
Getting closer to working on the final details in this step.
The finished painting.
Applying The Final Details
And for the final image I refined the details further focusing in on her facial expression and adding some bounce colour in the surrounding material and drapery. I use a small brush size for the final steps, so I can get into the important areas around the focal point (the face and features) and also to clean up lines and edges where I see I think it is necessary.
I write my signature, save the files, back them up and call the painting finished.
Check out my youtube video above for more insight into the background and process of this digital painting of Séilah.
Thank you all very much for reading, watching, liking and sharing.
If you would like to know about my future posts, join my mailing list below.
© 2020 Robbie Allen Artist. All images and content (c) copyright Robbie Allen


