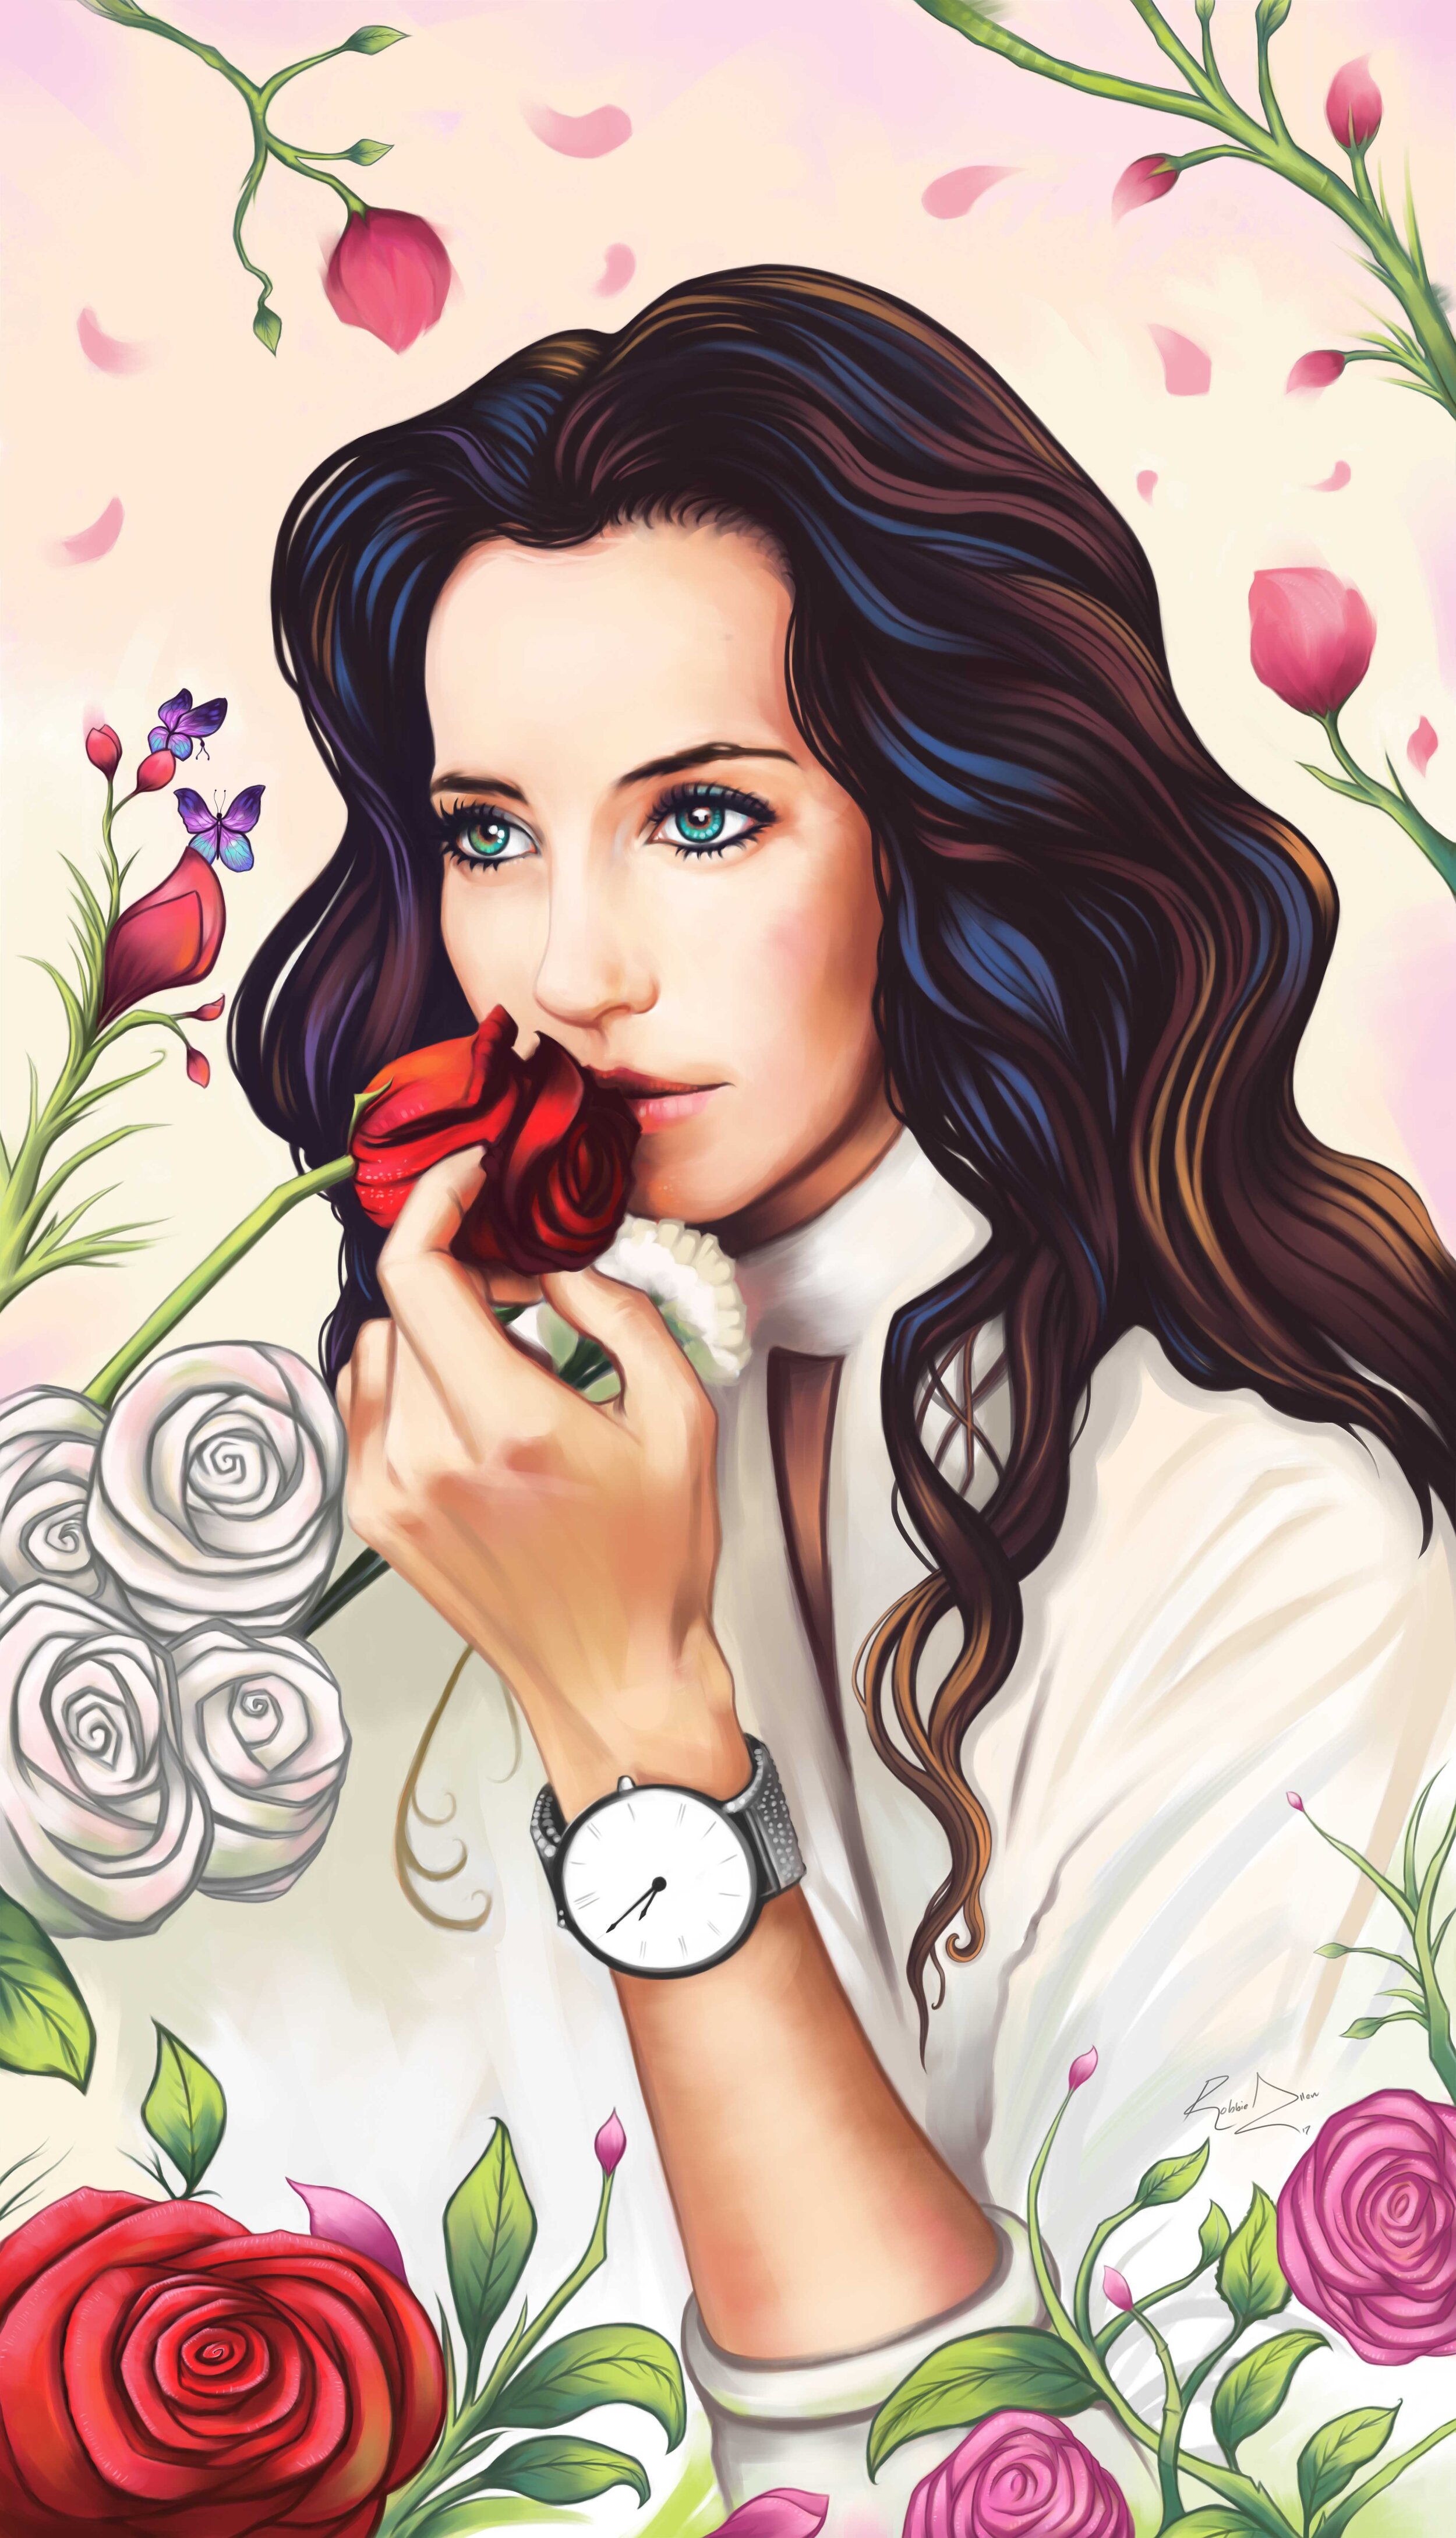
A couple of years ago I completed what I considered to be my best digital portrait illustration to date. I finished a realistic portrait of Christelle, an ex co-worker of mine when I was living and working on The Gold Coast, Australia.
Christelle is from France, and at the time that I worked with her, she was interested in areas such as spirituality, mindfulness, present-moment-awareness, the natural world, health & fitness, and areas such as yoga and meditation.
At one point I decided I wanted to paint Christelle’s portrait, but I wanted to add something to the piece and make it more illustrative, instead of just painting directly from a photo.
Going Digital
My portrait of Christelle is a digital portrait. Now for those of you who don't know, the same knowledge and method of drawing and painting is mostly applied and transferable over into digital drawing and painting. If you are unable to draw using a simple pencil on paper, digital tools will not come to your rescue, and it will not miraculously make your work better. You can learn to draw with digital software, but you can’t expect to suddenly just start creating quality art if you do not already have pre-existing knowledge of the fundamentals and practice under your belt.
There are however many benefits to working digitally. Digital is more forgiving with mistakes, you can for example escape/undo a wrong brushstroke and ‘go back in time’ when you’ve made a mistake. You can save and paint multiple versions of your artwork at different stages, try multiple different colour studies before taking one to final, and you don’t have to clean up paint at the end of each session.
Establishing Direction
Before starting a portrait or illustration, I take a few minutes to sit quietly and think about what it is I want to achieve, capture and create. This simple bit of planning early on is essential to help establish a clear direction for your artwork to go in, and should you get lost, you can always refer back to it and check where you are at in the process. So before painting, I grab a sheet of paper and a pen, and write down questions, and begin to think where I want to take my painting.
Digital Tools And The Step-By-Step Process
I mostly paint with Adobe Photoshop throughout the painting process, but sometimes I like to use Corel Painter, especially for blending techniques in the final stages of a painting.
When starting a digital painting, I open up Photoshop and create a new canvas. I like to start painting on a file that is not too big at first, and gradually increase the size over time as the painting develops. This prevents your computer from lagging and slowing down when making large brushstrokes on a high-resolution image, and allows for a smoother, more enjoyable workflow.
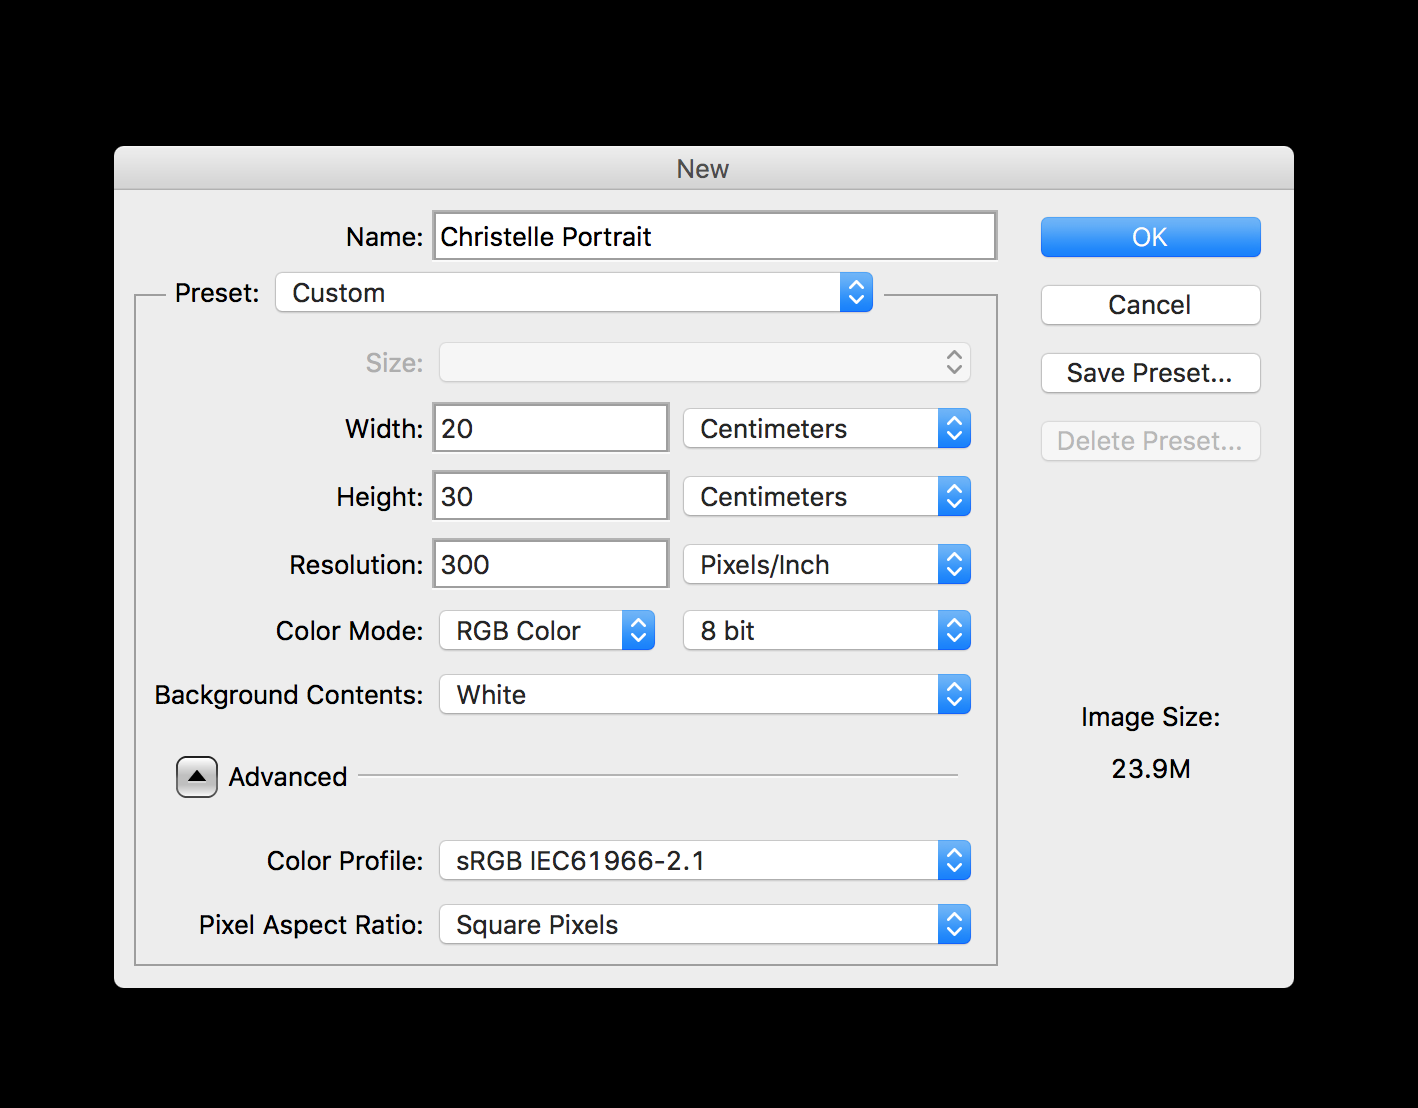
In Photoshop, go to the top bar and select ‘File’, then ‘New’ for a new document/canvas to work with.
Naming the new document/canvas, and setting up its size.
Open up the brushes panel by selecting ‘Window - Brush’ in the Photoshop tab bar on the top of the page. Then select your brush in the brushes menu.
Once I’ve opened up the canvas, I sometimes like to fill the background with a colour to work on top of, to do this you double click the background layer in the layers menu, and then select the paint bucket tool, choose your colour and drop it down onto the canvas. From there I create a new layer which sits on top of the background, I select a hard round brush from the brushes menu, select a grey tone that resembles a pencil stroke, and begin roughly sketching in the shapes and proportions that make up the subject.
I then begin to start painting with colour, and I immerse myself into the painting process. I will show you some of the stages below.
Christelle work-in-progress 1.
In this early sketching stage I aimed at getting the main shapes, composition and likeness down early. I also introduce additional design elements into my composition.
Christelle work-in-progress 2. The first colour pass.
The second phase of my portrait, the first colour pass. In this stage I aimed at getting the main colours down. I aim for a stronger sense of vibrancy in the colours/hue as compared to the original photo I worked on, where the colours seemed too de-saturated and faded.
Christelle work-in-progress 3. Developing colour and focusing on the imaginary elements.
At this stage I was getting closer to the finished painting. Having got much of the main colours and proportions complete for Christelle, I chose to focus on detailing some of the imaginary elements, decorating the painting and leading the eye through composition.
The idea behind this was appreciation for nature and present-moment awareness. At a time which is fast looking like something out of a dystopian future novel much like George Orwell’s 1984, we are becoming more and more locked into technology and forgetting to appreciate the amazing world around us. Just walk down the street and observe people on their way to/from work. If in the city center, I bet most are glued to their phones and not paying attention to the world around them in the slightest.
Wip 4 - The playful creative element. Working on details and the two butterflies as the focal point of Christelle’s gaze.
Getting much closer to finishing, I started working on detailing the focal point of the painting, which Is Christelle's eyes leading to the two butterflies. Again how often do we pay attention to the insects, the birds, the colours, sites, sounds and life around us? What can we benefit form it if we do? Can such a simple practice actually enhance our creativity and productivity in a fast-paced world?
How about we re-introduce a little more gratitude, awe, respect and appreciation for the little things around us. Even if it is just another grey, rainy, cold day in England.
The Finished Digital Painting - Full Size
So that’s it for this post, I hope you found some value in it.
I do have a digital portrait and traditional portrait painting service on my website for both colour and b&w paintings: https://www.robbieallenartist.com/realisticportraits
This makes a great gift for a loved one, a family member, or even for yourself. I can also paint and draw animals and pets on request. Please do share this to anyone you think might want to have a portrait done as a gift.
Thank you for reading, sharing and commenting. It all makes a difference and inspires me to keep making posts. If you have any questions, just ask.
Thank you,
Robbie


